How to Create an Astro JS Project - Quick Start Guide
~ 9 min read
By Daniel Diaz
/* Astro is a brand-new web framework used to build multi-page applications. Let's start an Astro app. */
The Astro framework premise is very simple: Build a fast website, with whatever framework you know. Since its 1.0 release, we had interesting features, such as image optimization, and MDX support (the format I’m writing this article with).
It brings back the simplicity of the old web, and the ability to integrate with powerful frameworks such as React, Svelte, Vue, and other front-end tools.
Let’s see how we can quickly start a new Astro project!
Install NPM and Node.JS
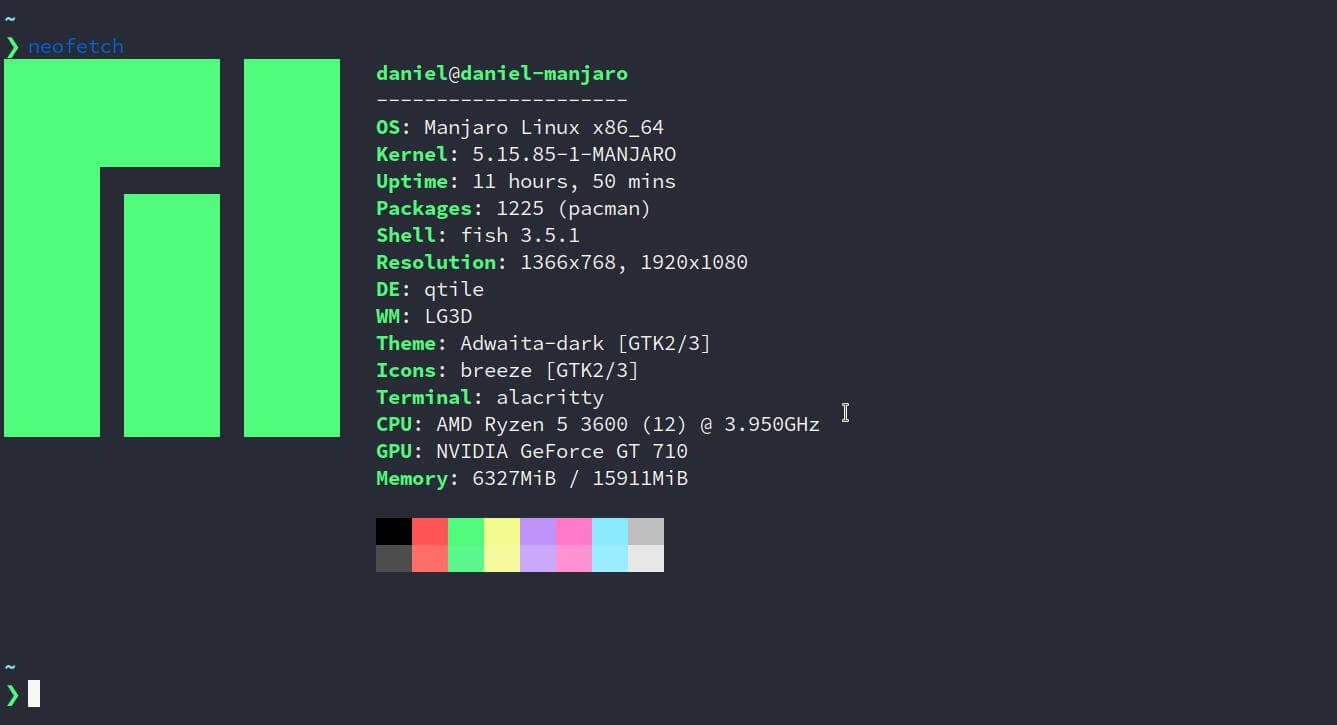
To start creating websites with Astro, you’ll need some kind of command line interpreter. On Windows, you can search for CMD or Powershell. On macOS, and Linux search for “Terminal”, or use the shortcut
Ctrl + Alt + T (available in most Linux distros).
Then you’ll need to install Node.js, a JavaScript runtime. However, I prefer to use the Node Version Manager, or NVM, to be able to manage different node environments between projects.
NVM is a macOS and Linux project. To use it on Windows, you’ll have to use NVM for windows.
Also, some commands exposed in this tutorial might not available on Windows, but, you should be able to perform the same actions with a file manager.
You can install, and verify the version of NMV like this:
curl -o- https://raw.githubusercontent.com/nvm-sh/nvm/v0.39.1/install.sh | bash

nvm --version
// 0.39.2
Astro requires version 14.18.0, 16.12.0, or higher. So let’s install the latest
Node version to be sure we won’t run into any trouble.
nvm install node
nvm use node
With Node installed, now we can move to create an Astro project.
Create Astro Project with Setup Wizard
Astro’s made it pretty easy to create a project from scratch. Use the astro@latest directive, and it’ll
guide you to a simple setup wizard. It’ll install the latest Astro version.
npm create astro@latestI like to start with a template with a “few best practices”, and also install the npm dependencies right away. You can initialize a GitHub repo for your project if needed.
astro v1.9.1 Launch sequence initiated.
✔ Where would you like to create your new project? … myproject
✔ How would you like to setup your new project? › a few best practices (recommended)
■■▶ Copying project files...(node:571016) ...
(Use `node --trace-warnings ...` to show where the warning was created)
✔ Template copied!
✔ Would you like to install npm dependencies? (recommended) … yes
✔ Packages installed!
✔ Would you like to initialize a new git repository? (optional) … yes
✔ Git repository created!
✔ How would you like to setup TypeScript? › Relaxed
✔ TypeScript settings applied!
next Liftoff confirmed. Explore your project!
Enter your project directory using cd ./myproject
Run npm run dev to start the dev server. CTRL+C to stop.
Add frameworks like react or tailwind using astro add.
Stuck? Join us at https://astro.build/chat
╭─────╮ Houston:
│ ◠ ◡ ◠ Good luck out there, astronaut!
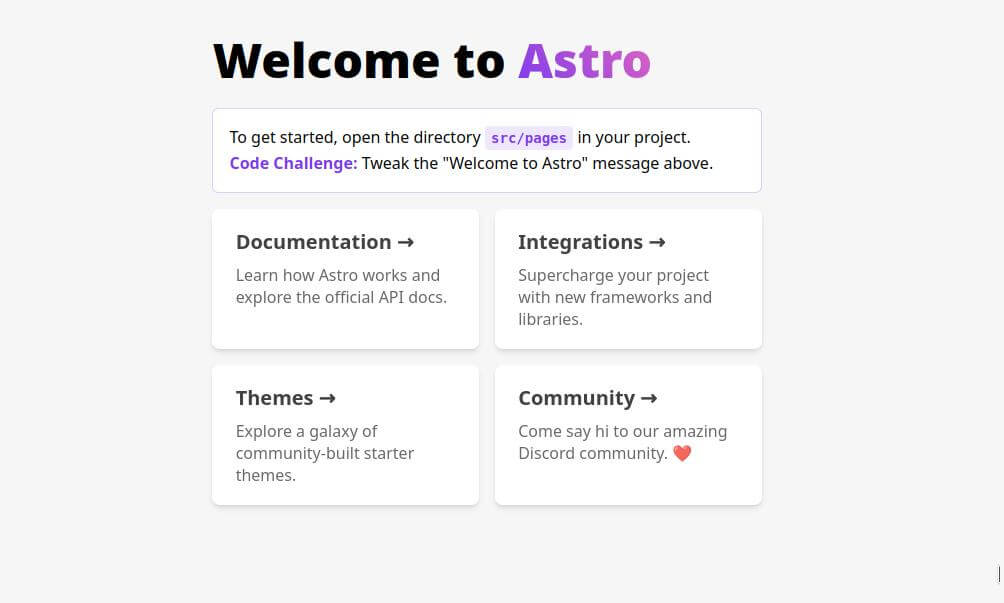
╰─────╯Now, enter the project folder, and start the development server.
npm run devGo to localhost:3000. You’ll be able to see something like the following.
We’re able to run the command npm run dev because in the package.json file, the
Astro setup wizard created the “scripts” dictionary, offering shortcuts like npm run dev, instead of having to
type npm run astro dev.
// package.json
{
  ...
  "scripts": {
    "dev": "astro dev",
    "start": "astro dev",
    "build": "astro build",
    "preview": "astro preview",
    "astro": "astro"
  },
  "dependencies": {
    "astro": "^1.9.0"
  }
}
Now, we’re going to see how to set up an Astro project manually.
Create Astro Project Manually
Although is much easier to set up an Astro app with the create CLI tool,
here’s how you can do it on your own.
Create, or move to the folder you want to start the project at, and install the Astro package.
mkdir astroproject/
cd astroproject/
npm install astro
Now, you should have access to the package.json file. Add the “scripts” dictionary we saw in the previous section.
Don’t forget to also set the name, description, and private attributes. You should have something like the following.
// package.json
{
	"name": "First Astro Project",
	"description": "My awesome Astro project!",
	"version": "1.0.0",
	"private": true,
	"scripts": {
		"dev": "astro dev",
		"start": "astro dev",
		"build": "astro build",
		"preview": "astro preview",
		"astro": "astro"
	},
	"dependencies": {
		"astro": "^1.9.1"
	}
}
Create Astro-required files
We’ll later see the structure of an Astro app in detail. But for now, create the following files.
First of all, you need an index or home page. As we’re going to see, all your indexed pages
(pages that follow the http://hostname/path/ pattern once deployed) must be located in the
/src/pages/ folder.
Being in the root directory of your project, run:
mkdir -p src/pages/
cd src/pages/
touch index.astro
Now, edit the index.astro file with common contents of an HTML page.
// src/pages/index.astro // Frontmatter.

<html lang="en">
	<head>
		<meta charset="UTF-8" />
		<meta http-equiv="X-UA-Compatible" content="IE=edge" />
		<meta name="viewport" content="width=device-width, initial-scale=1.0" />
		<title>My site</title>
	</head>
	<body>
		<h1>Hello there, this is my site!</h1>
	</body>
</html>
Now, at the root of your project define the astro.config.mjs. It is an EcmaScript module
that defines the settings of our Astro app.
cd ../../
// Root of your project
touch astro.config.mjs
Export the defineConfig function from the astro/config module with your custom settings.
// astro.config.mjs
import { defineConfig } from 'astro/config';

export default defineConfig({
	// Here is you configure your app
});
Finally, create a /public folder at the root of your project.
This will help you manage your static assets such as images and favicons. These files won’t be modified, or optimized by Astro, and are available to markdown, Astro, and JavaScript files.
mkdir public/
// Copy already created favicon
cp somedir/favicon.ico  ./public/
Running the dev environment should give you something like the following.
npm run dev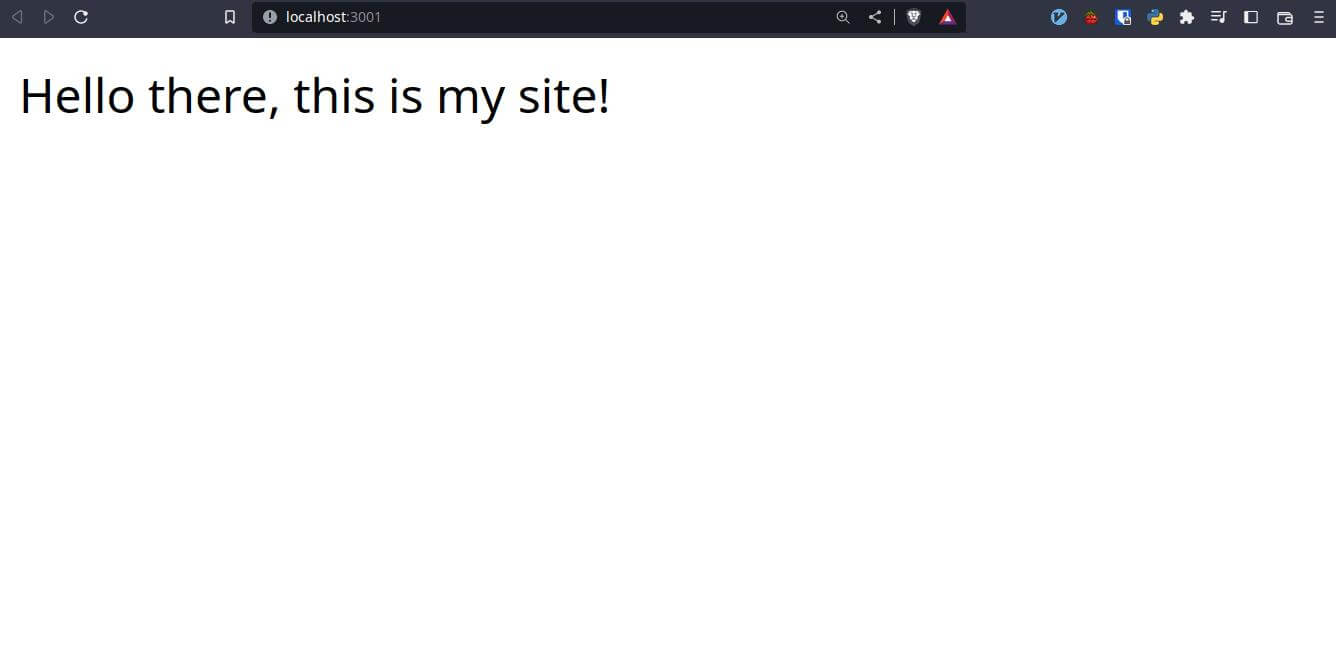
Astro Project Structure: Best Practices
A common file structure to develop an Astro app is the following.
.
├── astro.config.mjs
├── package.json
├── public/
│   ├── favicon.ico
│   ├── favicon.svg
│   ├── _headers
│   ├── logo.png
│   └── robots.txt
├── README.md
├── src/
│   ├── assets/
│   │   ├── images/
│   │   └── styles/
│   │       └── base.css
│   ├── components/
│   │   ├── core/
│   │   └── widgets/
│   ├── layouts/
│   ├── pages/
│   │   ├── 404.astro
│   │   ├── index.astro
│   │   ├── projects.astro
│   │   ├── rss.xml.js
│   │   ├── [dynamic pages]/
│   └── utils
├── tsconfig.json
Let’s break down each one of these files and folders:
astro.config.mjs: Where your Astro site configuration live. Here you specify your build, and server options, as well as Markdown plugins, and other integrations.package.json: Defines dependencies, and scripts of your project.public: Here you store all the static assets you want not to be modified by Astro when building the site. You usually store images used in markdown files and logos.src/: The heart of your actual project.src/assets/: Is common to store the images, CSS, and JS files used in your file in this directory.src/components/: Here you store your components, made by Astro or UI framework files, such as React, Vue, or Svelte.src/layouts/: You can use this folder to store layouts for other pages, or markdown files.src/pages/: Where the pages (Astro, and markdown files) live. The path of every file will be visible as/pathin the built site.src/utils/: You can locate different utilities, such as afetchingPostsfunction.
You can see the structure of different open-source Astro sites, for example the source code of the Astro documentation on GitHub.
You might as well visit the showcase page of Astro sites. Some of these sites are open-source, so you can peek around to see how they’ve been built.
Add frameworks to an Astro Project
You can integrate almost any modern UI framework with Astro.
For example, we’re going to add the popular Tailwind CSS framework and create a header component.
Integrating Tailwind and Astro
Astro has an integration ready to use for Tailwind, so it’s pretty easy to get started.
npx astro add tailwind

  Astro will run the following command:
  If you skip this step, you can always run it yourself later

 ╭────────────────────────────────────────────────────╮
 │ npm install @astrojs/tailwind tailwindcss@^3.0.24  │
 ╰────────────────────────────────────────────────────╯

✔ Continue? … yes
⠸ Installing dependencies...
✔ Installing dependencies...

  Astro will generate a minimal ./tailwind.config.cjs file.

✔ Continue? … yes

  Astro will make the following changes to your config file:

 ╭ astro.config.mjs ─────────────────────────────╮
 │ import { defineConfig } from 'astro/config';  │
 │                                               │
 │ // https://astro.build/config                 │
 │ import tailwind from "@astrojs/tailwind";     │
 │                                               │
 │ // https://astro.build/config                 │
 │ export default defineConfig({                 │
 │   integrations: [tailwind()]                  │
 │ });                                           │
 ╰───────────────────────────────────────────────╯

✔ Continue? … yes

   success  Added the following integration to your project:
  - @astrojs/tailwind
Now you should have a tailwind.config.cjs file, where your Tailwind configurations live.
After this command, all the Tailwind classes will be available on every Astro (and in other framework files) page.
Let’s create a navbar component.
Creating a Tailwind Navbar Component
Create a folder src/components/ (if you don’t have one already) and a file Navbar.astro inside.
In this file, use the following code.
{/* src/components/Navbar.astro */}
<nav
	class="flex flex-col text-center sm:flex-row sm:text-left sm:justify-between py-6 px-6 shadow-lg sm:items-baseline w-full"
>
	<div class="mb-2 sm:mb-0">
		<a href="/" class="text-2xl no-underline text-gray-900 hover:text-blue-900 capitalize">My Astro Site!</a>
	</div>
	<div>
		<a href="#" class="text-lg text-gray-900 hover:text-blue-900 ml-2">Blog</a>
		<a href="#" class="text-lg no-underline text-grey-darkest hover:text-blue-900 ml-2">About</a>
		<a href="#" class="text-lg no-underline text-grey-darkest hover:text-blue-900 ml-2">Projects</a>
	</div>
</nav>
This is a simple navbar, that wraps the links to the middle when the display hits the small or sm breakpoint (640px).
Of course, the links won’t work because we haven’t created any other pages.
To use it in your index.astro page, import the Navbar at the top of the file inside the frontmatter (---).
---
import Navbar from '../components/Navbar.astro';

// Other imports
---
After importing it, now you’re able to use it on your page.
{/* src/pages/index.astro */}
<Layout title="Welcome to Astro.">
	{/* Imported navbar */}
	<Navbar />
	<main>
		{/* Main content */}
	</main>
</Layout>
Your site should look like this.

Summary
This tutorial provided a step-by-step guide for setting up an Astro project, as well as some best practices to keep in mind when building Astro sites. With a solid foundation in place, you can begin building and expanding your Astro projects with confidence.
In addition, we saw how to add integrations and create an Astro component using Tailwind.
Any comments, or doubts? Let me know in the comment section!